"...one jazzed Facebook thread later, and we had models, a location, a styler, a coach and a bunch of crazy photographers just out for a good time."
When it came apparent it was going to involve photo-manipulation, I got super excited because it hasn't been something I've been able to explore often. I'd done a few projects in college and enjoyed doing tutorials, but never went to this scale and I LOVED it. Hands down, it's going to happen again; it was such a blast.
Seriously, surround yourself with creative and awesome people up for adventure; it will do wonders for your mojo.
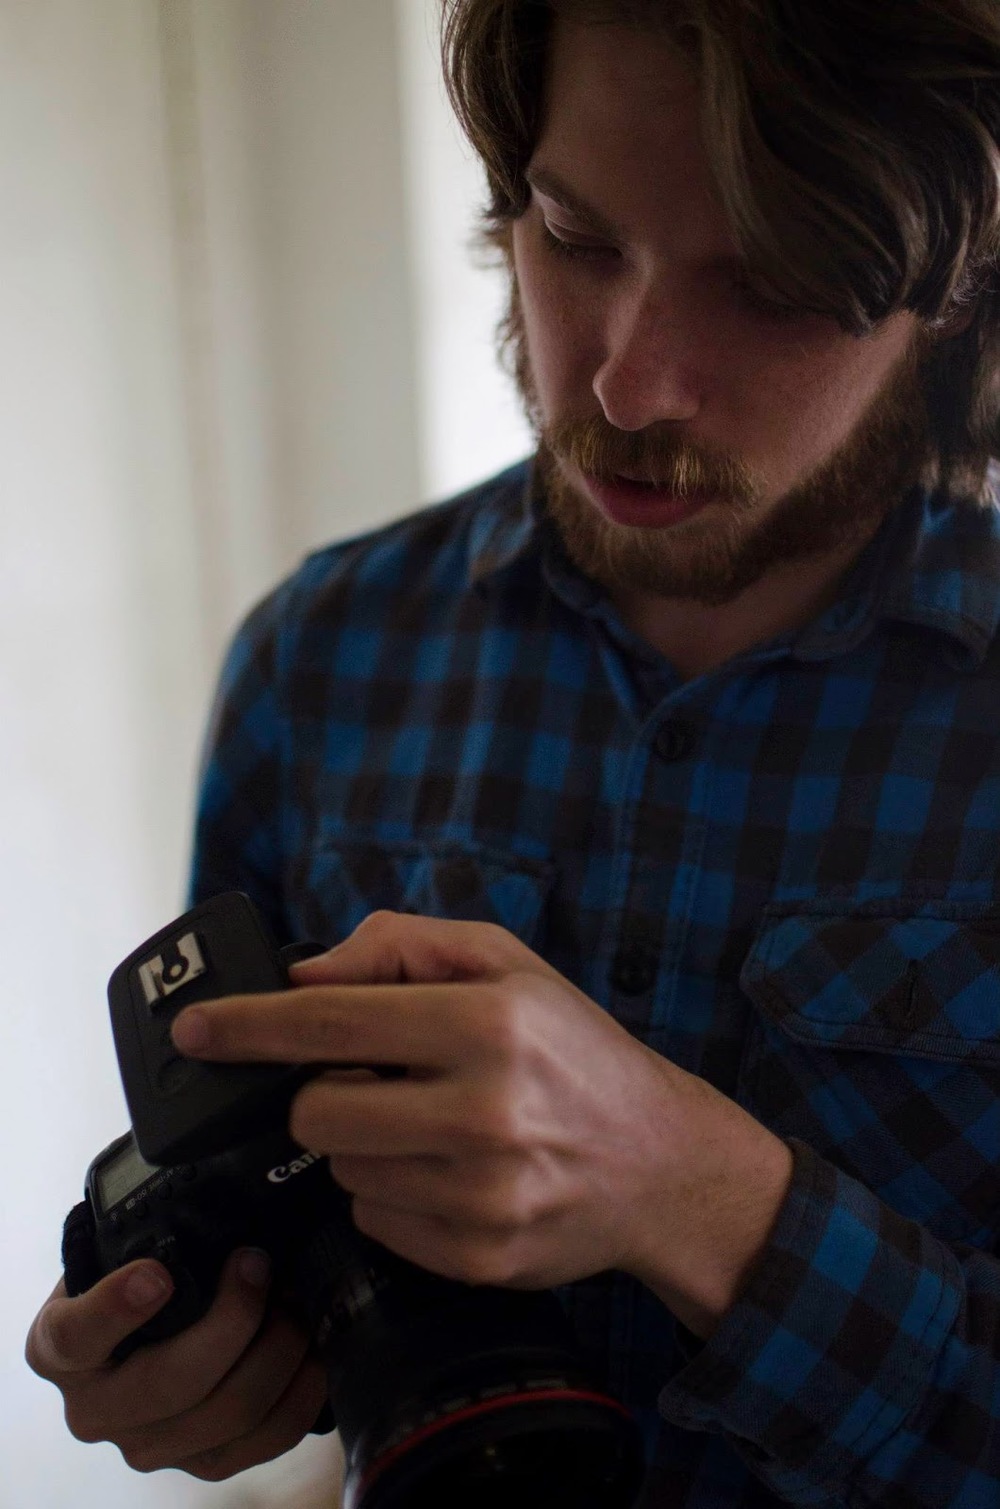
Anyway, as I said before, this was the first set-up, so Matt was there to help me get the ball rolling...
 |
| Cactus V5 Tranceivers for those who want to know...(Photo Credit: Logan Foll) |
 |
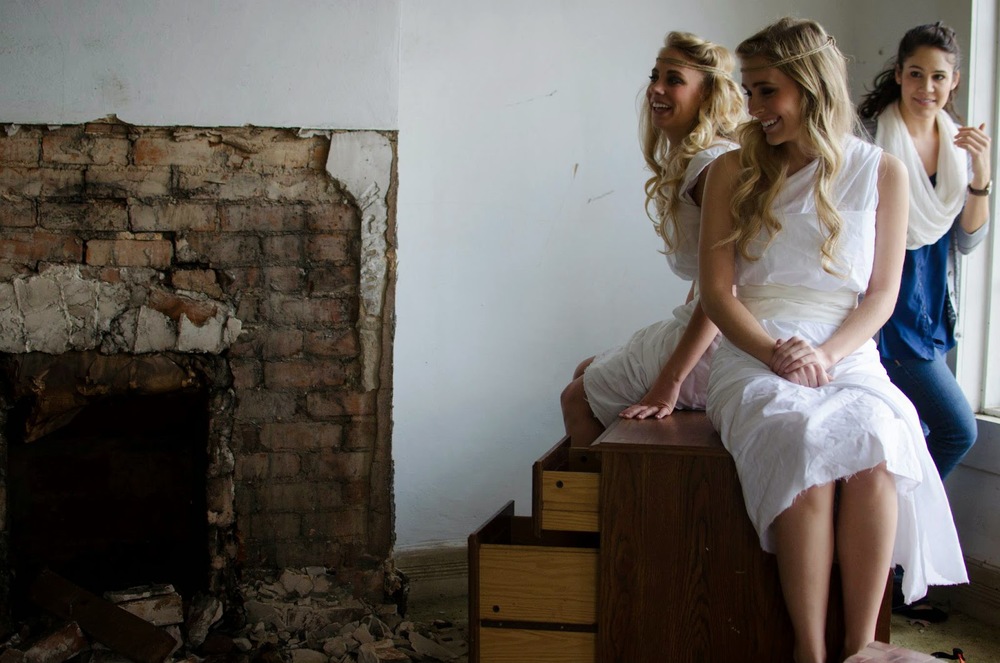
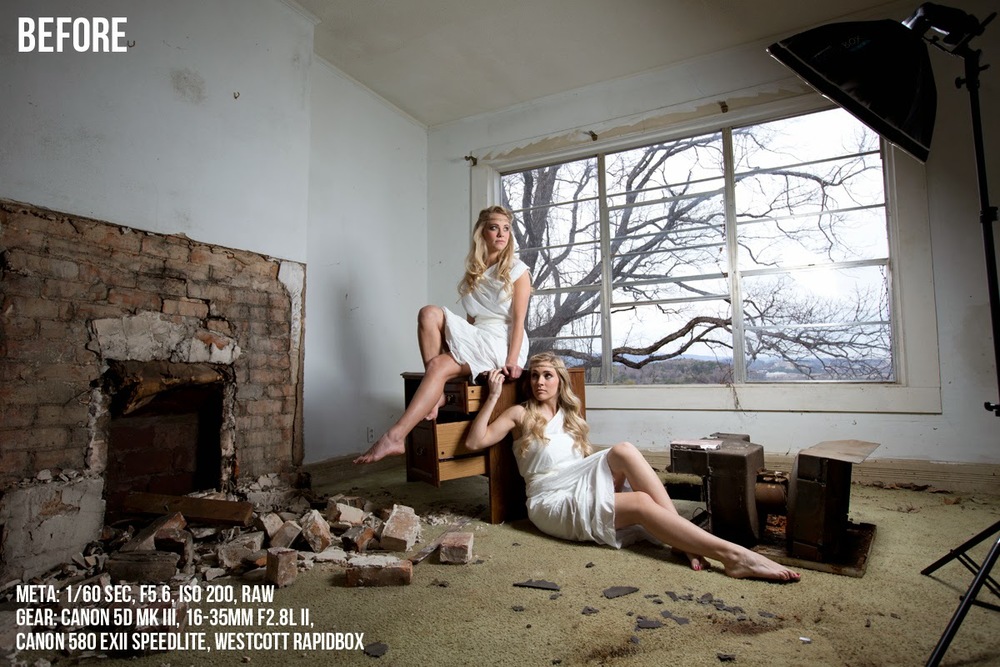
| Setting up the first shot — originally was going to have them on the couch, but later went with the desk. (PC: Jonathan Morua) |
 |
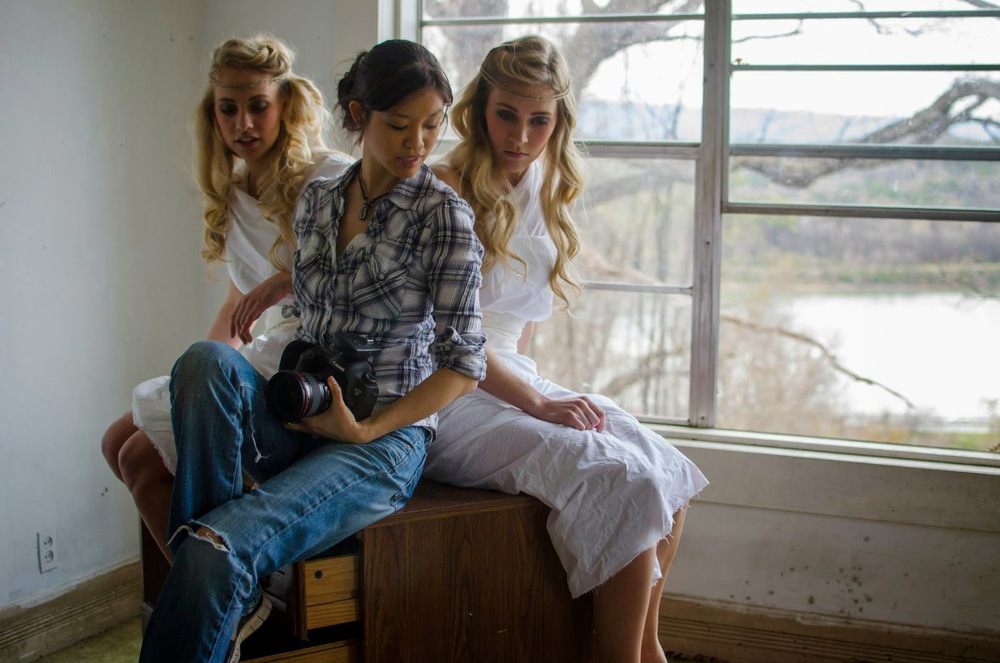
| The lovely Gloria, Rachel and stylist/fellow photog Aimee Burchard. (PC: Logan Foll) |
 |
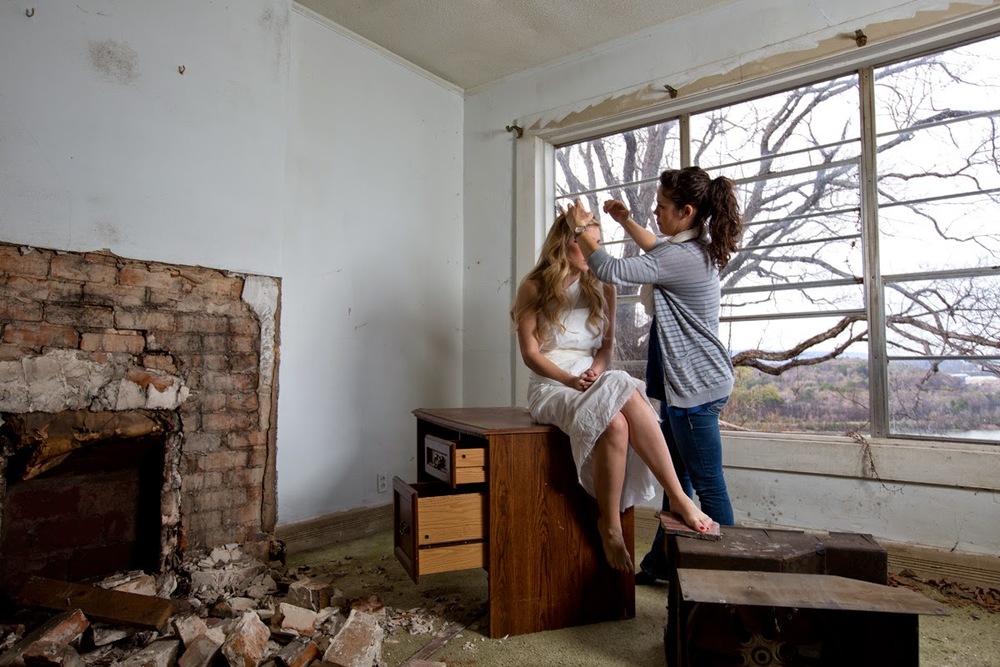
| Setting up shot; compositionally worked better to later have Rachel on a different level. (PC: Logan Foll) |
One huge thing to figure out (besides the balance between ambient light and the strobe), was where to place the light. It seemed to lack that "punch" I was looking for. Then I remembered what Matt told me before he had to leave: The closer the light, the more contrasty. I should've remembered from lighting class (sorry David).
It's the difference between bad 90s flash and Vogue...
Moved the light closer. Boom.
Aight kids, it's been fun! Thanks for joining me for the last bit.
'Til next time...