^^^ Lol, I think I'm going to use this as my disclaimer for whenever I work on retouching. ^^^
I'm not exactly sure why I get a slight thrill when it comes to retouching. I absolutely hate what the industry has done with it, and I absolutely hate the fact that girls/women (myself included at times) want to constantly compare themselves to the "perfect" magazine models.
But I'll be perfectly honest: I love retouching. It's like vacuuming, haha. It's making something that looks kind of "pro" in a sense, and it's always exciting to figure out/learn how they do it. Doing the last studio shoot was so much fun for that very reason.
But I'll be perfectly honest: I love retouching. It's like vacuuming, haha. It's making something that looks kind of "pro" in a sense, and it's always exciting to figure out/learn how they do it. Doing the last studio shoot was so much fun for that very reason.
The easier it is for me to make a blemish/whatever disappear, the more I'm like, "Well heck, I could make Tom Cruise look like Lindsay Lohan at this rate." (Okay, I'm not that advanced yet, but I'm just saying).
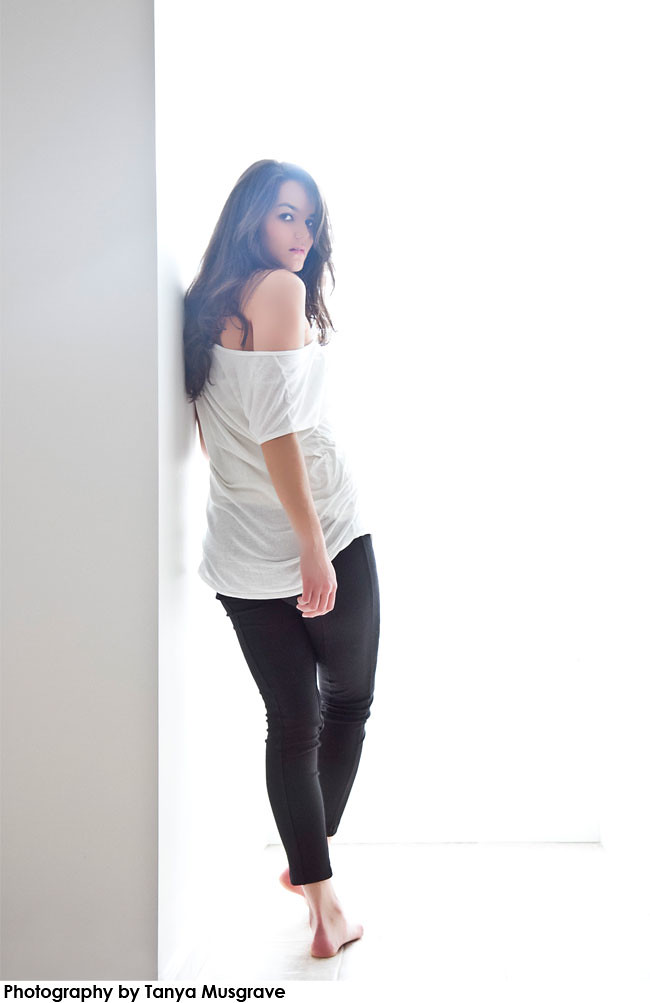
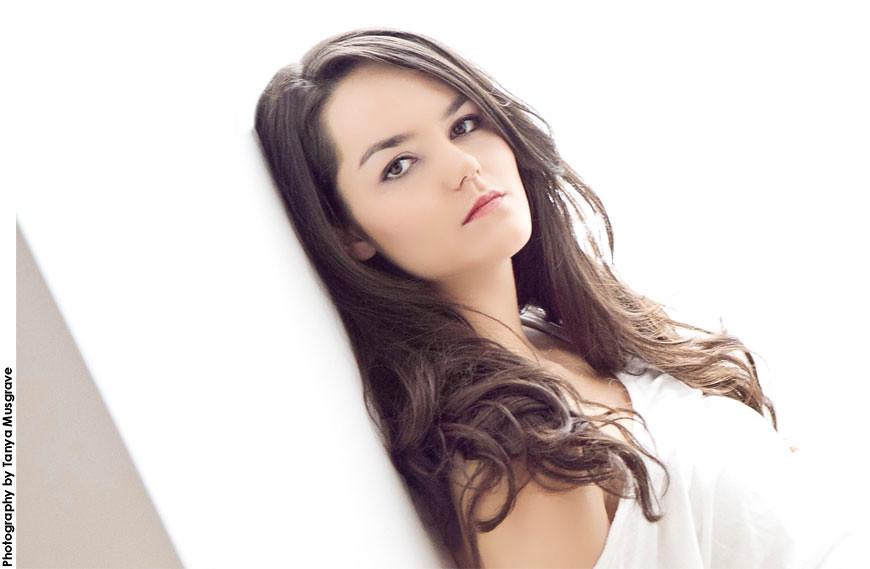
So with that disclaimer (and my usual harp at clients that I will NEVER do this to your already-beautiful faces), I'll show you what I've been up to. You may remember this beauty from a couple Trash the Dress posts a while back. (#1, and #2)
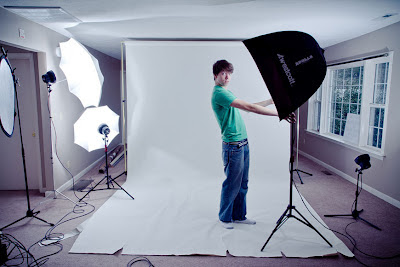
My partner in crime for everything photography was with me in Atlanta to shoot a wedding (preview for that coming up), and we always get crazy ideas in our heads whenever we get together. (One HUGE one is coming up this fall, which we will inform you about =D It involves a road-trip; all I'm gonna say). And since she used to be my college roommate, she basically had to pose, haha, no arguments.
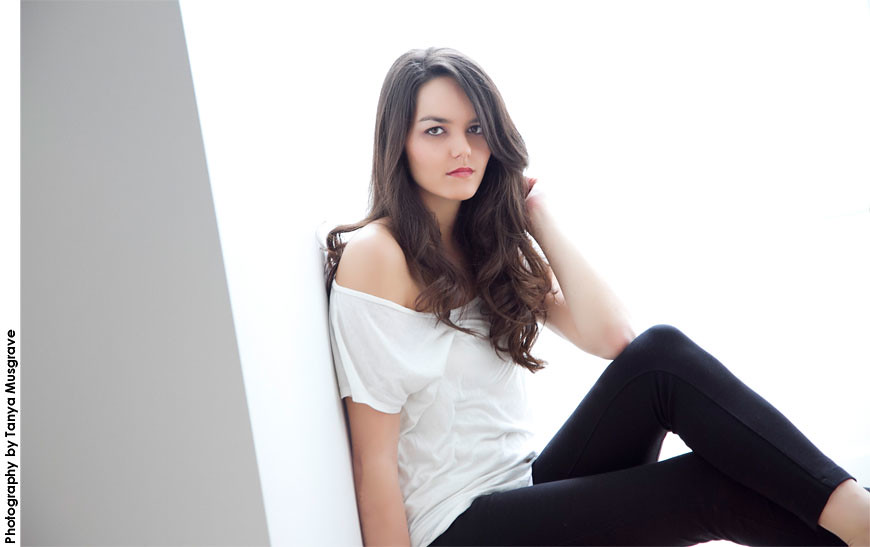
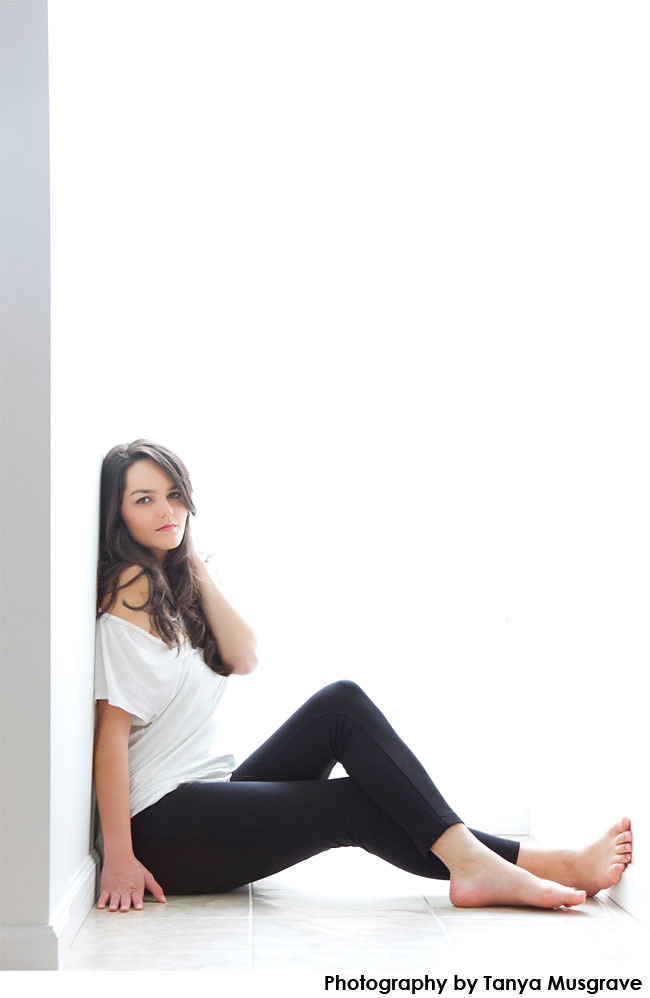
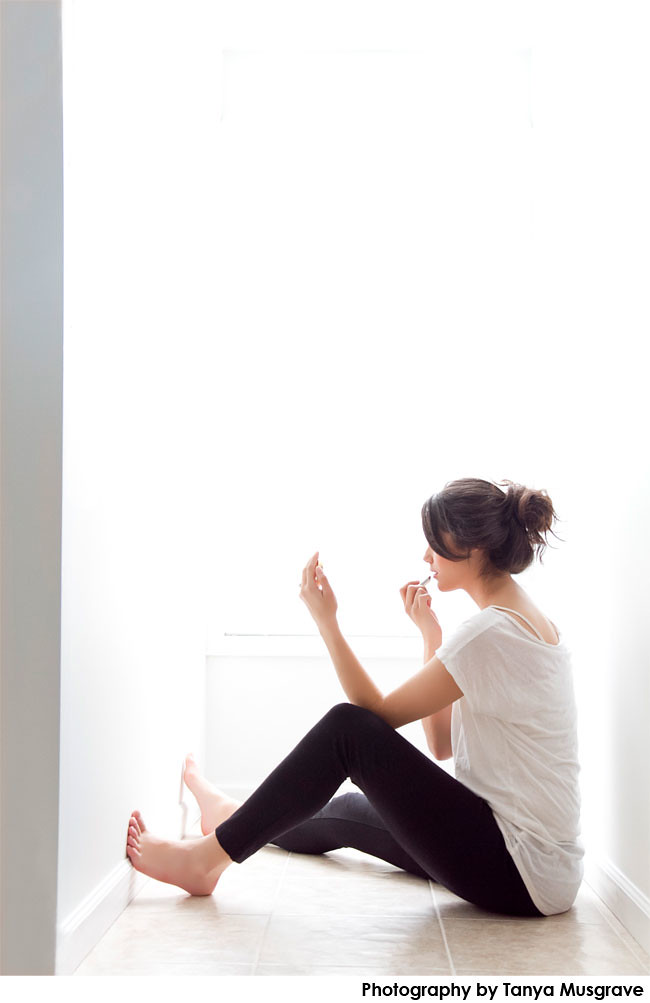
One of the things we wanted to perfect was posing and commercial photography, and we wanted to strip away all surroundings and get interesting photos. This way the model interacted with just light and a plain background. For this reason, I practiced taking more wide shots, rather than close-ups. (Which I'm kicking myself for, because this is what the tutorial went over and I wanted to try it out. Reh.) Nonetheless, we had fun =)
HOW TO:
With the help of an amateur video I found by Craig Fisher, I learned the basics around how they get that flawless-skin look. Here are the basics:
1. Open your original photo and make sure to copy the Background layer. Work with the copy, just in case you have to backtrack or even start over.2. Go to the "Filters" tab and apply a "Surface blur" to the layer. (Play with the sliders until you have a nice smooth look, but also retain your edges).3. Then select that layer, and hold down the [alt] key while selecting the [Mask] icon (looks like a little camera).4. Select a brush and make sure it's color swatch is on "white." This will basically paint ON the mask (the blur effect) and you can put that blur wherever you want to.
He goes over a bit more...utilizing another filter like the "Dust and Scratches" to help get rid of more bumps here and there...whitening the eye (which tends to go a long way), etc. But for the most part, he talked about the skin.
In any case, hope you learned something new...if just the fact that it's really not that big a deal making someone perfect, lol. Happy vacuuming!